Nx Witness User Manual
1.Use one of the following methods to open the New User dialog for local users:
•Open Main Menu and choose New > User
•Open Main Menu, click on User Management, then click the New User button
•Right-click on Users in the Resource Tree and choose New User
•From System Administration, go to the Users tab then click the New User button
2.In the New User dialog, enter the following user information:
•Login – Enter a log in ID for the user.
•Password and Confirm Password – enter a password for the user
 IMPORTANT: The password is case-sensitive.
•Name – Enter the user's name.
•Email – Enter the address that will be used for Email notifications. If this is not set, the user will not be able to receive "Mail Notifications" from the System.
•Role – Select a User Role from the menu. Predefined and custom roles will be included. To assign special permissions, click the Edit Roles button (see "Roles Management").
3.Click OK to complete creation of the new user or Cancel to exit without saving.
 Note: All users can reset their own password.
New Cloud Users
If the System is connected to Nx Cloud, the new user dialog for a "Cloud" user looks like this:
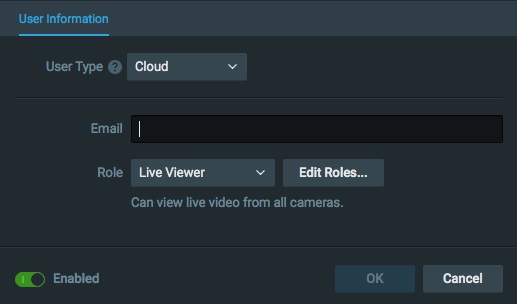
•Enter the user's email address and click OK. The System will send the user an email.
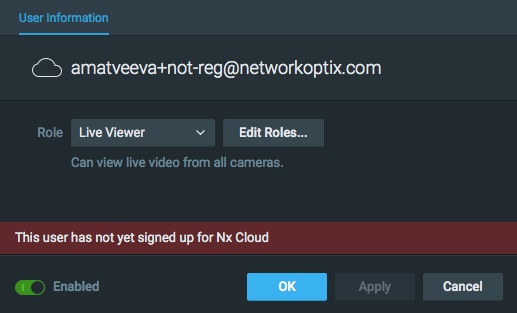
•If the user is not registered, they will get email notification that they have been granted access to the System and a registration link. If the user has already registered on the Cloud Portal, they will get an email letting them know that the System has been shared with them.
•As long as new user is not registered on the Cloud Portal, a warning will be shown in their User Settings: