Nx Witness User Manual
For all camera vendors, Nx Witness provides direct access to a camera's web page where users can configure the camera's settings without leaving the Desktop Client. If the device cannot be accessible from the computer Desktop Client is running on, Nx Witness Server acts like a proxy Server to retrieve the device web page content and display it within the Desktop Client.
 Note: Only camera web pages that work in Chrome are supported.
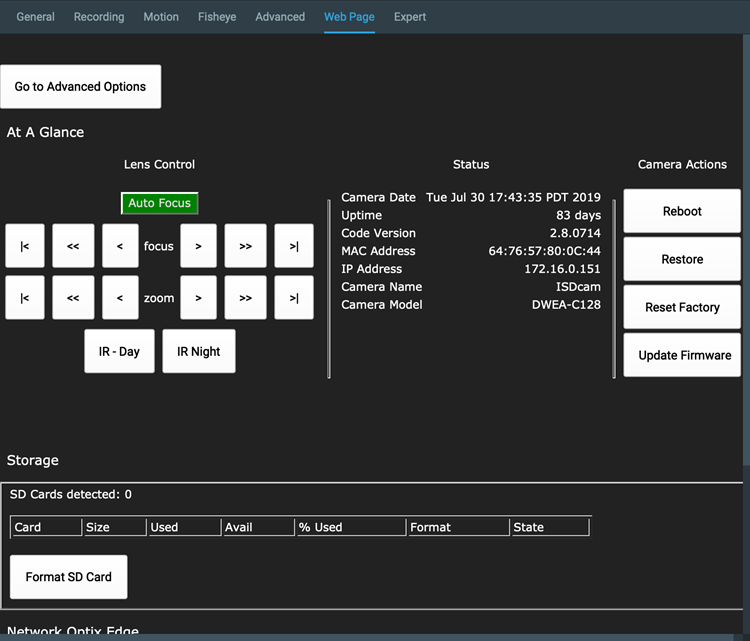
In some cases, if a custom integration with a camera has been implemented, Nx Witness pulls proprietary device parameters such as authorization, network settings, and displays controls into the Desktop Client where they can be configured directly. See the below image for one example of such a web page (can vary depending on the manufacturer).

By default, the web page is available on the standard port (80). In case of using a non-standard port, it should be configured in on a device's "Expert" tab (see "Device Expert Tab").
From the General tab
1.Select a camera and open the Camera Settings > General tab.
2.If the device requires authentication, enter camera credentials in the Authentication section (see "Configuring Device Authentication"). You must have the "Edit camera settings" permission to perform this function.
3.Click on the Web Page link. The browser will open the device’s web page. From here you can control settings such as display size, JPEG refresh rate, PTZ and focus speed, etc.
 Note: To check device accessibility, press the Ping button prior to opening the web page.
From the Web Page tab
1.Select a camera and open the Camera Settings > Web Page tab
2.The device's web page will open within that tab.
3.Enter authentication parameters if required.