Nx Witness User Manual
Smart Motion Search instantly searches archive to discover and highlight the segments that contain motion in a user-selected region of a video image. Simply select the desired region and Nx Witness will display all segments that contain motion throughout the archive (scanning through a yearly archive only takes a few seconds).
Motion Smart Search requires that the selected camera supports motion detection, and that Nx Witness motion detection be enabled.
Note that motion smart search cannot be applied to Motion Mask regions, where motion detection has been blocked (see "Setting up Motion Detection"). However, if no area is selected, Nx Witness returns results from the entire video region.
1.Open the camera's motion grid in one of the following ways:
•Use the  icon on the camera tile.
•Open the camera's context menu and choose Show Motion/Smart Search.
•Select the camera and use the shortcut M.
•Use Shift+click-and-drag to simultaneously enable Motion Smart Search and select the desired region.
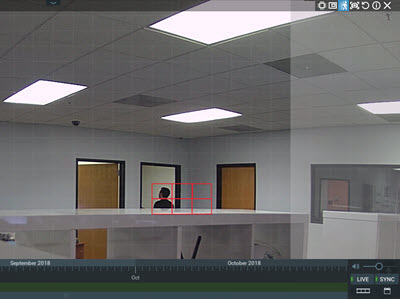
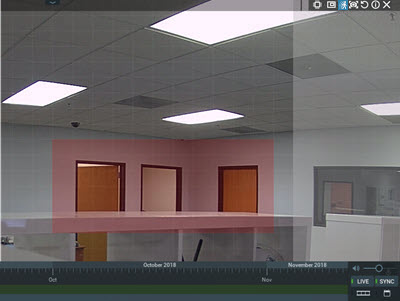
The motion grid will display as a gray overlay. Red cell outlines indicate that motion is detected:

2.Use Click-and-drag to select the region where motion smart search should be applied or use Ctrl+click-and-drag to select multiple areas.

3.As soon as the region is selected, the Timeline will display red bars, each of which indicates an archive period that contains motion in the selected region.
4.Scroll through the Timeline to the red bars to quickly and easily locate motion in the archive.
5.To disable Smart Motion Search, clear all regions in the motion grid, toggle the  button, or use the context menu option Hide Motion/Smart Search (M).