Nx Witness User Manual
Nx Witness will present a PTZ Guide the first time PTZ controls are activated on a System, unless the Alternate UI for PTZ has been enabled. Once viewed, the PTZ Guide will only be shown after navigating to Main Menu > Local Settings > Advanced and clicking on the "Reset All Warnings" button.
To the extent supported by a particular ONVIF camera, PTZ controls (Pan, Tilt, and Zoom) are available when the Camera is in Live mode. PTZ controls are also available on archived footage for fish-eye cameras that have dewarping enabled (see "Dewarping Controls").
Cameras that support ONVIF Absolute Move have the following features:
•Saving and Restoring PTZ Positions
•Relative PTZ
When PTZ requirements are met and enabled, the PTZ icon  will display on the corresponding camera item. See Adjusting PTZ Speed and Selecting PTZ Presets for more configuration options.
Manufacturer "Native" PTZ Settings
Native PTZ camera presets – those provided in-camera – for a specific camera can maintained by checking Use camera native presets in Camera Settings > Expert. To ignore manufacturer settings in favor of Nx Witness settings, check Use system presets instead.
Default UI for PTZ controls
Depending on the camera model, one of the following modes is available when you click on the PTZ icon  .
.
Simple (Zoom only) – Use the mouse wheel or +/- keys to zoom.
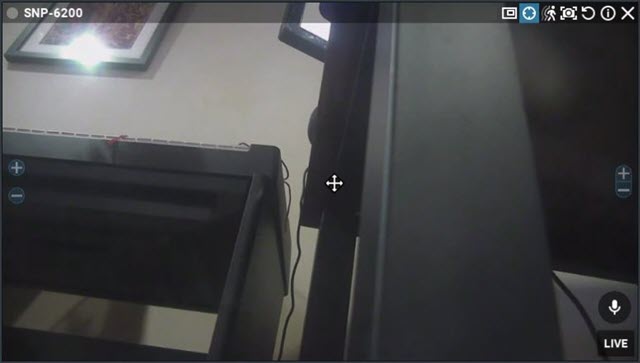
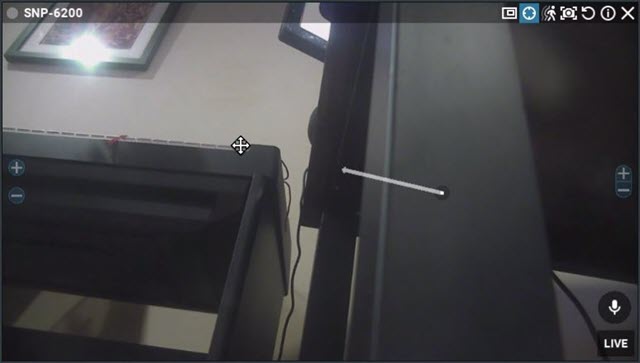
Regular (Zoom and Point) – In addition to the zoom functionality from Simple mode, press the arrow keys or drag over any part of the video to point (pan/tilt) the camera.
.
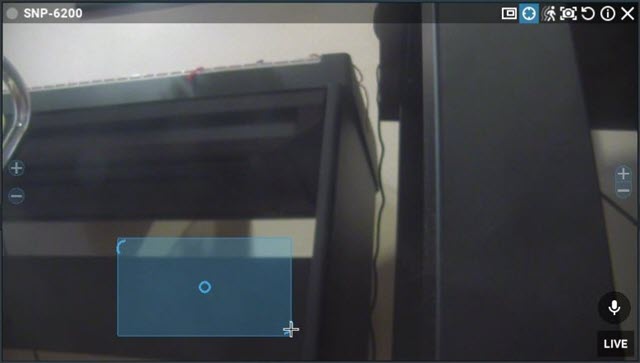
Advanced PTZ (Zoom, Point and additional features) – In addition to the zoom and point functionality from Regular mode, Extended mode requires a custom product integration and ONVIF Absolute Move support from the camera. Extended mode allows the following additional controls:
oShift + Click anywhere in the field of view to re-center at that position.
oShift + Click-and-drag and draw a zoom rectangle that can be positioned until the mouse button is released.
oShift + Double-click to zoom out all the way.
Enable the alternative UI for PTZ controls by selecting the checkbox next to "Show aim overlay for PTZ cameras".
 Note: The PTZ Guide will not be shown if the Alternate UI for PTZ is enabled.
Depending on the camera model, one of the following modes is available when you click on the PTZ icon  .
.
Simple (Zoom only) – As shown in the image below, only the + and - buttons are available to zoom in and out.
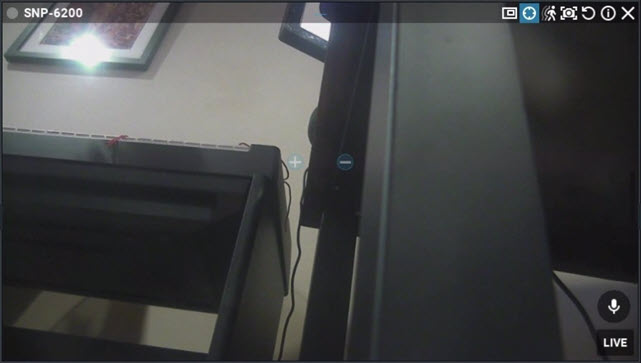
Regular (Zoom and Point) – Use the + and - buttons to zoom in and out. When there is a center circle as shown below, you can use it to click-and-drag the center of the image to the desired position.
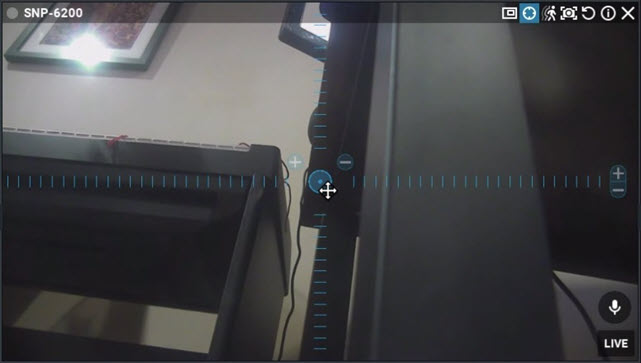
Extended (Zoom, Point and additional features) – Requires a custom product integration and ONVIF Absolute Move support from the camera. Allows zooming, repositioning, and the following additional controls:
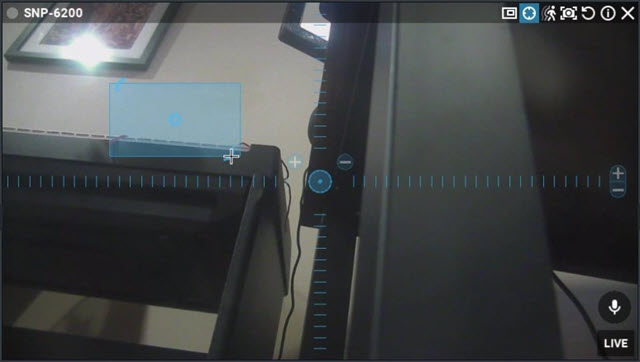
•Click anywhere in the field of view to re-center at that position.
•Click-and-drag and draw a zoom rectangle that can be positioned until the mouse button is released.
•Double-click to zoom out all the way.
Once a PTZ position is set, press  again to hide PTZ controls.
SmartZoom
Compatible cameras with combined PTZ and panoramic (multi-sensor) functionality allow you to use SmartZoom. This feature allows you to use Extended PTZ controls on any of the panoramic sensors and have the PTZ portion of the camera automatically pan/tilt to the designated spot.